Train and Deploy on GCP from an AI Platform Notebook
This guide introduces you to using Kubeflow Fairing to train and deploy a model to Kubeflow on Google Kubernetes Engine (GKE) and Google AI Platform. As an example, this guide uses a notebook that is hosted on AI Platform Notebooks to demonstrate how to:
- Train an XGBoost model in a notebook,
- Use Kubeflow Fairing to train an XGBoost model remotely on Kubeflow,
- Use Kubeflow Fairing to train an XGBoost model remotely on AI Platform,
- Use Kubeflow Fairing to deploy a trained model to Kubeflow, and
- Call the deployed endpoint for predictions.
Set up Kubeflow
If you do not have a Kubeflow environment, follow the guide to deploying Kubeflow on GKE to set up your Kubeflow environment on GKE. The guide provides two options for setting up your environment:
- The Kubeflow deployment user interface is an easy way for you to set up a GKE cluster with Kubeflow installed, or
- You can deploy Kubeflow using the command line.
Set up your AI Platform Notebooks instance
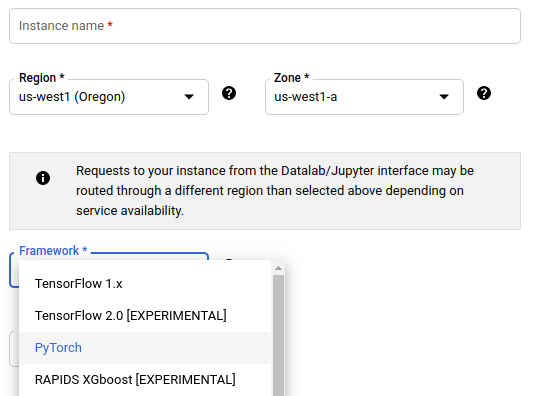
Kubeflow Fairing requires Python 3.6 or later. Currently, only AI Platform Notebooks instances created with the PyTorch framework image have Python 3.6 or later installed. If you do not have an AI Platform Notebooks instance that uses the PyTorch framework, follow the guide to creating a new notebook instance to set up your environment and select the PyTorch Framework.
Run the example notebook
Follow these instructions to set up your environment and run the XGBoost quickstart notebook:
-
Use the AI Platform Notebooks user interface to open your hosted notebook environment.
-
Download the files used in this example and install the packages that the XGBoost quickstart notebook depends on.
-
In the JupyterLab user interface, click File > New > Terminal in the menu to start a new terminal session in your notebook environment. Use the terminal session to set up your notebook environment to run this example.
-
Clone the Kubeflow Fairing repository to download the files used in this example.
git clone https://github.com/kubeflow/fairing cd fairing -
Upgrade Kubeflow Fairing from the cloned repository.
pip install . -
Install the Python dependencies for the XGBoost quickstart notebook.
pip install -r examples/prediction/requirements.txt -
Authorize Docker to access your GCP Container Registry.
gcloud auth configure-docker -
Update your
kubeconfigwith appropriate credentials and endpoint information for your Kubeflow cluster. To find your cluster’s name, run the following command to list the clusters in your project:gcloud container clusters listUpdate the following command with your cluster’s name and GCP zone, then run the command to update your
kubeconfigto provide it with credentials to access this Kubeflow cluster.export CLUSTER_NAME=kubeflow export ZONE=us-central1-a gcloud container clusters get-credentials $CLUSTER_NAME --region $ZONE
-
-
Use the notebook user interface to open the XGBoost quickstart notebook at
[path-to-cloned-fairing-repo]fairing/examples/prediction/xgboost-high-level-apis.ipynb. -
Follow the instructions in the notebook to:
- Train an XGBoost model in a notebook,
- Use Kubeflow Fairing to train an XGBoost model remotely on Kubeflow,
- Use Kubeflow Fairing to train an XGBoost model remotely on AI Platform,
- Use Kubeflow Fairing to deploy a trained model to Kubeflow, and
- Call the deployed endpoint for predictions.
Feedback
Was this page helpful?
Glad to hear it! Please tell us how we can improve.
Sorry to hear that. Please tell us how we can improve.